This is your Olive Knits Fireworks Sweater Headquarters! Here, you can find links to everything you need to participate in the Fireworks Knitalong throughout the month of July. Let us know you are knitting with us by signing up here. If this is your first sweater, great! I’ll also have a variety of resources available to you to make it fun and easy.
A huge thanks to Olive Knits for organizing this worldwide KAL, and to Jems Luxe Fibers for hosting our small group KAL! First, bookmark these websites for easy access:
• https://www.oliveknits.com/fireworks-4day-kal/ Olive Knits Fireworks KAL page: Contains the Pattern Details link, Events Timeline, Swag and much more!
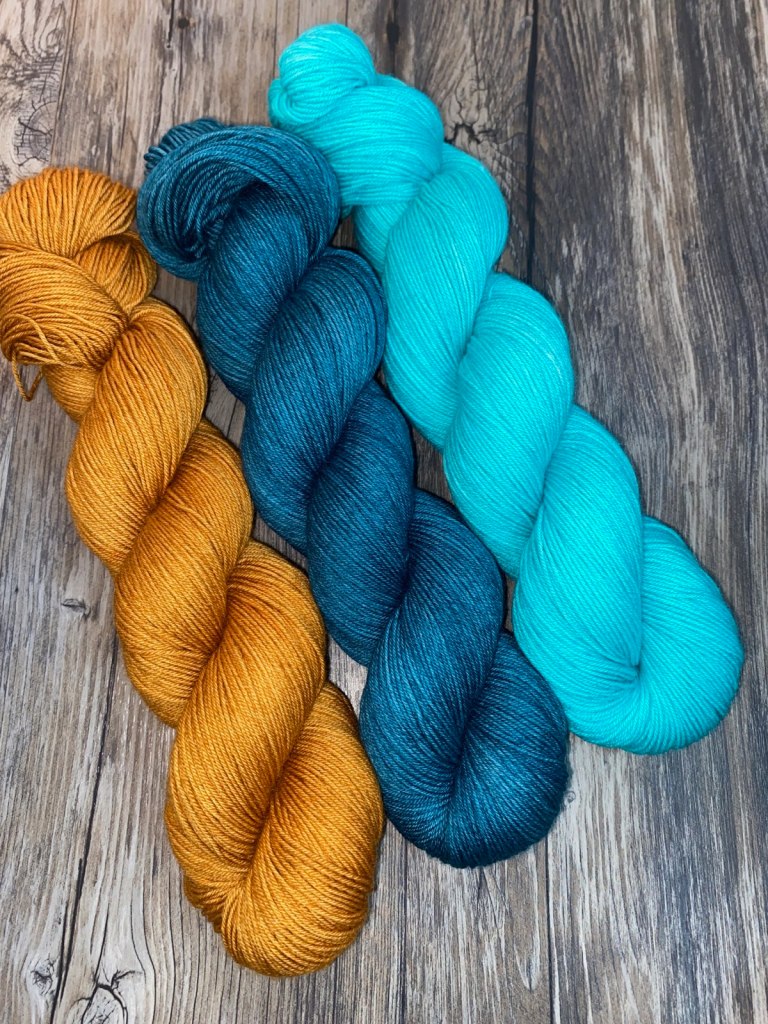
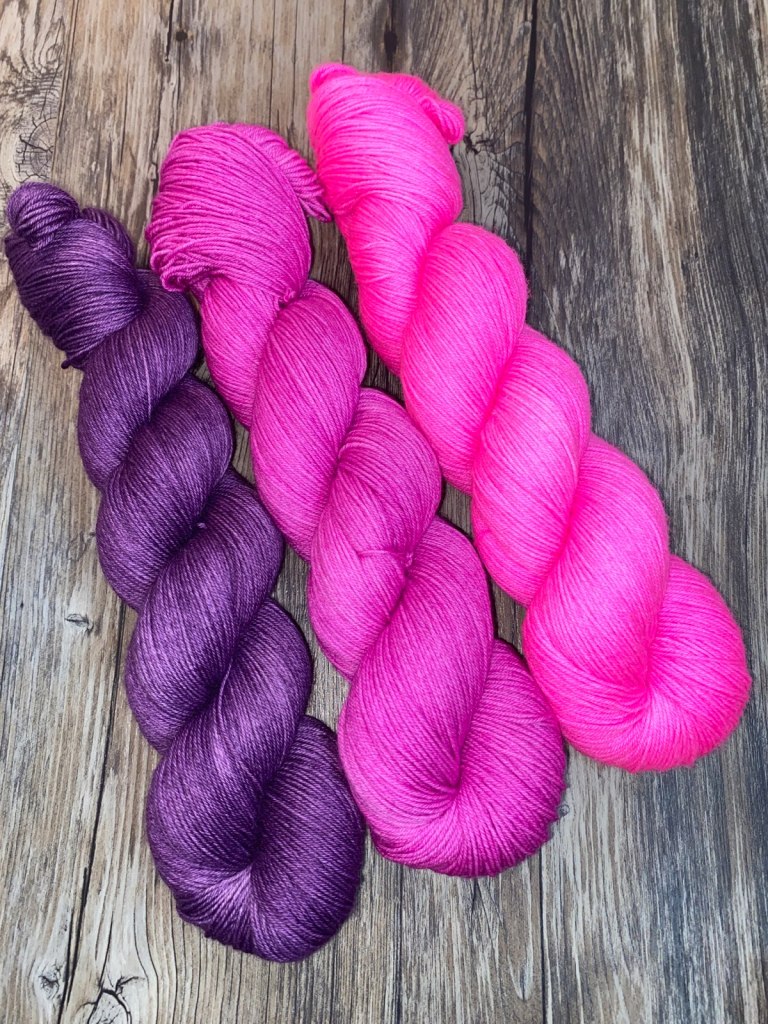
• https://jemsluxefibers.com/ Jems Luxe Fibers for ordering yarn.
• https://www.facebook.com/groups/758681594755974 Join Jems: For the Love of Knitting and Cooking Facebook Group for meetings, updates, and to share progress.
• https://katieclarkcrochet.com/ I’m your hostess and KAL leader! Look here for resources, videos, updates, tips and more. Email me at KatieClarkCrochet@gmail.com for personalized help along the way!

Event Dates
June 22nd: Swatch Party: Zoom party hosted by Jems Luxe Fibers, See Jems: For the Love of Knitting and Cooking Facebook Group for details about how to participate
July 1st: Virtual Cast On Party – Livestream: Hosted by Olive Knits
July EVERY TUESDAY: Weekly Zoom meetings hosted by Jems Luxe Fibers, See Jems: For the Love of Knitting and Cooking Facebook Group for details about how to participate
• July 6: Working the yoke
• July 13: Dividing for the body and working the body
• July 20: Working the sleeves
• July 27: Finishing
July ALL MONTH: Weekly livestreams and prize drawings with Marie on Facebook
July 30th: Official end of KAL and Virtual Bind Off Party – Livestream
What You May Have Missed
• Order your pattern and yarn ASAP! The pattern is discounted for a limited time only. Order your yarn soon so you will receive your order in time to cast on with us!
• Let us know you are knitting with us by signing up here.
• June 7: Olive Knits unveils the Fireworks Sweater! View the video here.
Resources
• Learn tips and tricks for swatching here.
• Video: How to read the information in the Pattern details, what materials you will need, and prepare to swatch
• Photo Tutorial on Dividing the Sleeves in a top down sweater
• Find errata on the Fireworks Pattern at the bottom of this page.
If you are enjoying this KAL and the resources I have provided, you can show your appreciation!
• View, Like, Subscribe, and Share my content on Instagram @katie_clark_crochet, Facebook @katieclarkcrochet, and here at https://katieclarkcrochet.com
- View, Like, Subscribe, Share, and Buy from my parters Olive Knits and Jems Luxe Fibers
• Consider leaving a tip in my Tip Jar!