I just got back from Boston, and I didn’t lose a single stitch marker! That is a big feat after knitting on airplanes and subways and in meetings (don’t tell!) and sessions. I usually drop stitch markers just sitting on the couch, so I had to figure out a way to hold on to them. My secret is a life line for my stitch markers. Here’s how I did it.

Set up:
with a tapestry needle.
- Choose a sock weight yarn in contrasting color. Cut a length at least as long as your needles and up to as wide as your project’s finished size.
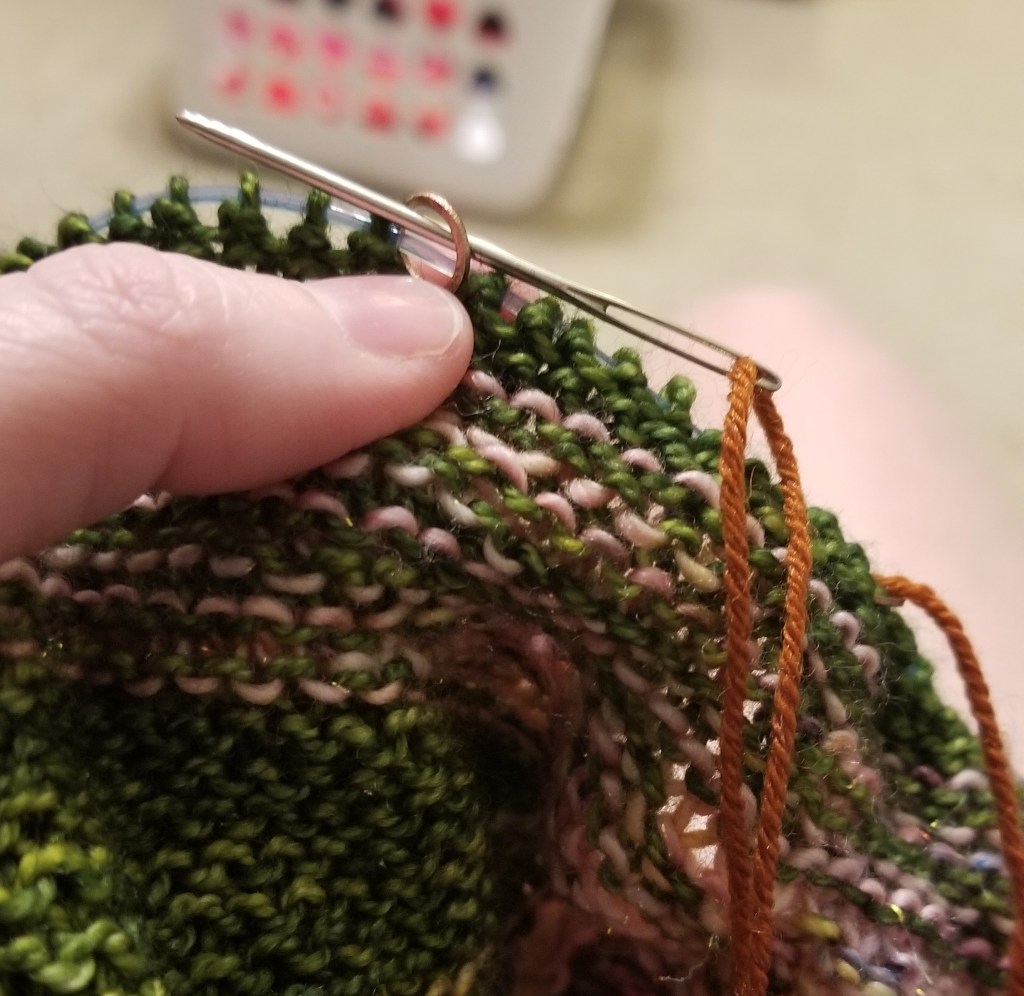
- With your stitch markers in place on the needles, thread the life line through each stitch marker on your needles.
- If you have to add stitch markers throughout your pattern, I recommend using open stitch markers that clip closed or bulb pins so you can add them to the life line later.
- If you use closed markers, you must add them to the life line in the correct place before you continue to step 3. They will dangle from your life line as you work, and that’s ok.
- Choose 2 extra stitch markers the same size or bigger. Tie one to each end of your life line to keep it from becoming loose from your work. Your last marker can stay on the needle or dangle free.
Working with the Life Line:
- Always keep the life line on the same side throughout your row.
- Do not allow the life line to wrap or yarn over your needles as you work.
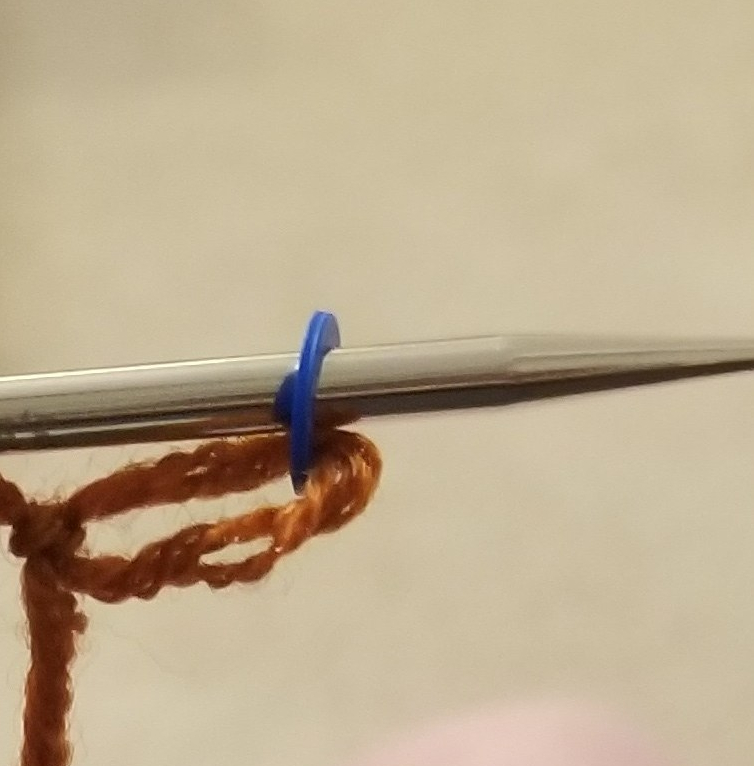
- I recommend working with the life line on the side facing you. Stitch to the first marker. With the life line in front, slip marker purlwise.

- If you have to turn in the middle of the row (for example, when working wraps and turns), the life line must fall to the side away from you. In this case, work to the marker, and with the working yarn in front, slip the marker purlwise. If you don’t do this, the marker will be stitched in like this:
Trouble shooting:
- If you stitch over your marker as above, you can continue your row. When you come back to the marker, slip it off the needle, pull the marker through the stitch to free it, and place it back on the needle.
- If you wrap or yarn over your life line, it will become entangled in your work. You must unknit back to the mistake and unwrap the life line from the needle.
- I prefer using bulb pins with this technique. The large end sits in place on the needle and the small end dangles down a little bit allowing the life line to hang out of your way as you stitch.


