Happy Holidays, Merry Christmas and Happy New Year!
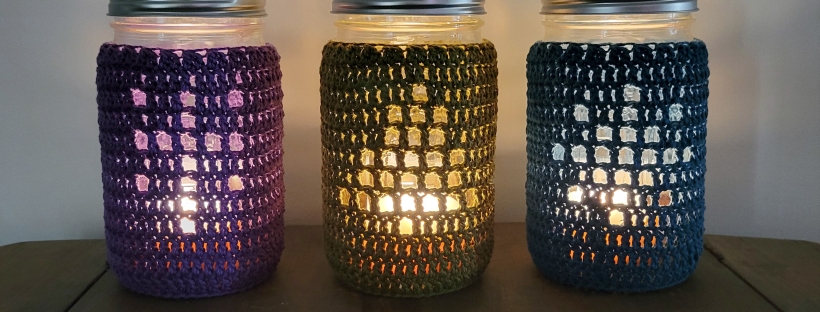
Add a little (or a lot!) of sparkle to your festive decor with decorative lanterns inside and out. Or make some last-minute gifts for family, friends, and teachers. These lanterns are awesome because they are so quick to make. It takes me less than 2 hours to make one!
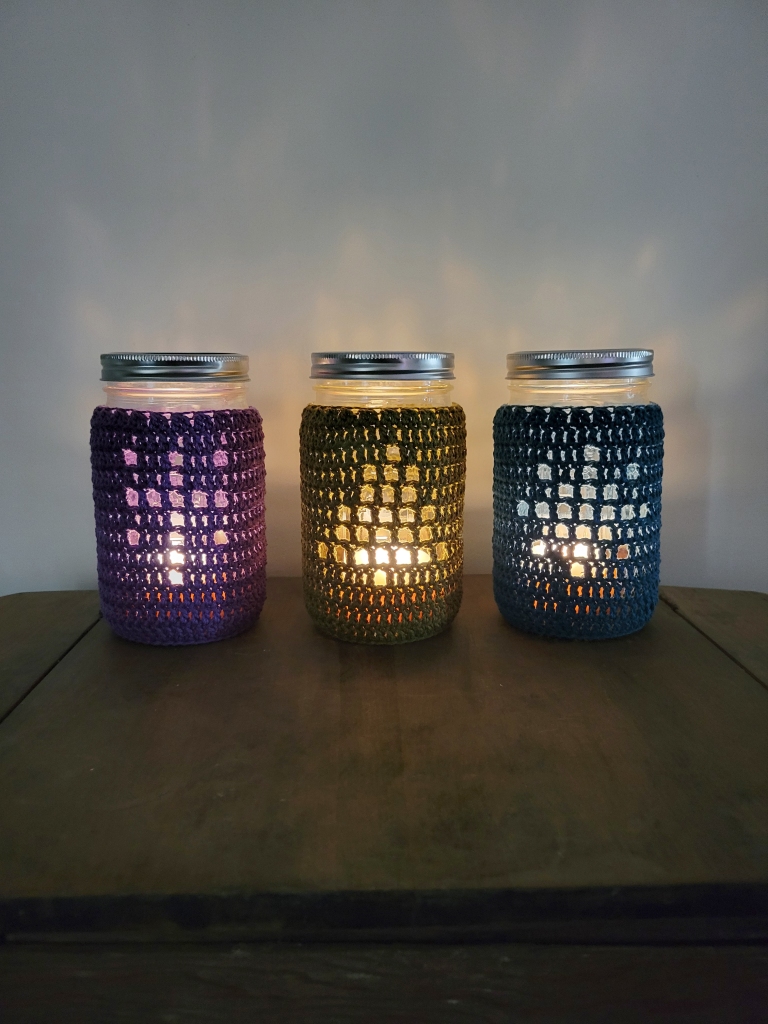
The filet crochet designs shown below of a Christmas star, tree, and snowflake are fun to make and are included in the pattern download. You can even share your creativity by designing your own chart! The instructions for making your own design are also in the pattern.
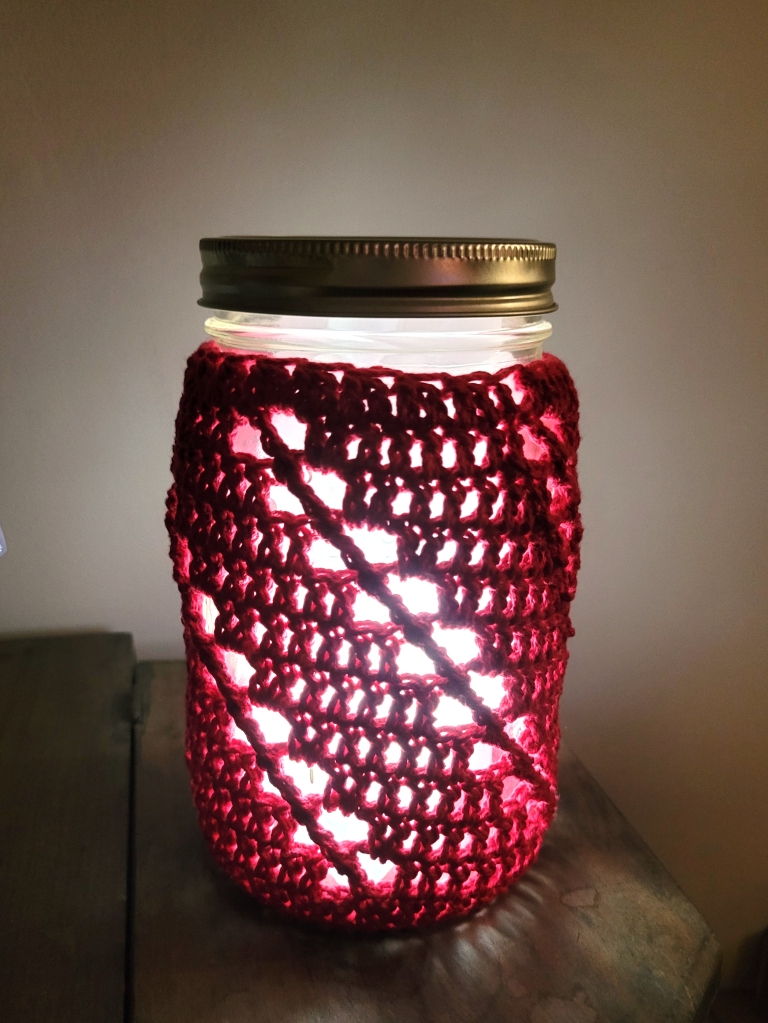
I love Christmas presents. Can I give you a Christmas present?? Below you can find the pattern for the Peppermint Stripe Lantern shown at the top left. I will leave it here for a limited time through Christmas. You can purchase the entire pattern including the filet crochet designs by visiting the Quart Jar Lantern page. And don’t forget to pop onto the Patterns page to find a pattern to gift a friend or yourself! Merry Christmas!!
Peppermint Stripe Lantern
Difficulty
Advanced Beginner
Finished Measurements
Lantern sleeve covers a 1 quart canning jar
Materials
Worsted weight mercerized cotton
(Fundamental Cotton in Lipstick Red by
Yarn Bee: 3.52 oz/164 yds), approx. 80-100 yds
US Size F/5 (3.75mm) hook
Tapestry needle
1 Quart canning jar
LED Puck light
Gauge
18 dc/9 rnds = 4×4”/10x10cm
Notes
- Pattern is written in US terms and
Imperial measurements. - Gauge is very tight to create a dense
fabric that will block light. To make
the design show up and contrast well,
work chs a little looser compared to
gauge. - Beginning ch 2 does not count as a
stitch throughout. - The first st of every row is worked in
the same st as the join.
Base
Ch 2.
Rnd 1: Work 8 sc in the second ch
from the hook, join with a sl st to the
first sc.
8 sc
Rnd 2: Ch 2 (does not count as a
st), work 3 dc in each st around, join
with a sl st to the first dc.
24 dc
Rnd 3: Ch 2, [2 dc, dc in the next st]
around, join.
36 dc
Rnd 4: Ch 2, [2 dc, dc in the next 3
sts] around, join.
45 dc
Rnd 5: Ch 2, working in the blo
around, [2 dc, dc in the next 8 sts]
around, join.
50 dc
Peppermint Stripe
Rnd 6: Ch 2, dc in the first st, dc in
the next 6 sts, [ch 2, dc in the next st,
sk 2 sts, dc in the next 7 sts] 4 times,
ch 2, dc in the next st, sk the last 2
sts, join with a sl st to the first dc.
40 dc, 5 ch-2 sp, (each repeat has 7
dc, 1 ch-2 sp, 1 diagonal dc)
Rnds 7-15: Sl st in the next 2 sts, ch
2, starting in the same st as the last
sl st [dc in the next 5 sts, 2 dc in the
ch-2 sp, ch 2, fptr around the post of
the diagonal st on the rnd below (that
is the st right after the ch-2 sp), sk 2
sts] 5 times, join to the first dc.
35 dc, 5 ch-2 sp, 5 tr (each repeat has
7 dc, 1 ch-2 sp, 1 tr)
Rnd 16: Ch 2, [dc2tog 3 times; work-
ing in the next st and the ch-2 sp,
dc2tog; working in the same ch-2 sp
and the top of the tr, dc2tog] around,
finish off with an invisible join.
25 dc
Finishing
Weave in ends.
If desired block as follows. Soak for
at least 20 minutes and press excess
water out with a towel. Stretch over a
1 quart canning jar and allow to dry.
I don’t recommend using a real flame
in this lantern because the cover is
flammable. I recommend using a bat-
tery operated LED light.
Get the full version!


