Aren’t these mitts adorable? It gets better… They are warm and squishy and a delight to wear, too! Guess what.
The crochet pattern for these mitts is free for the month of October! But it gets better… You can have another pattern from my library for free for the month of October too! Any pattern!
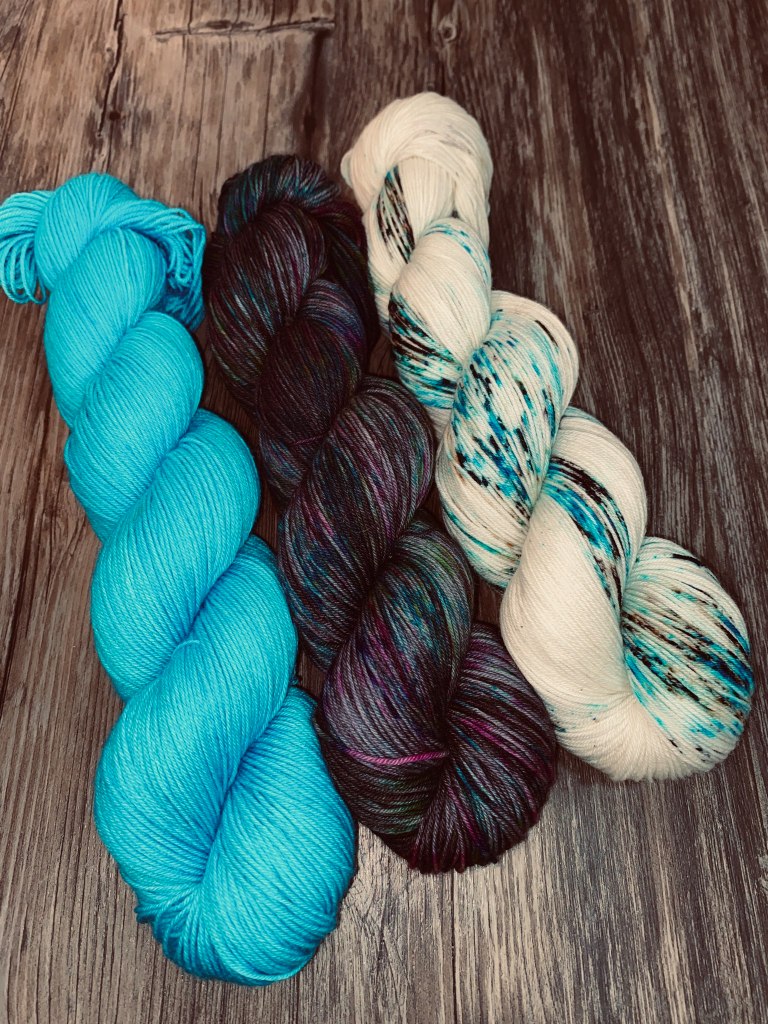
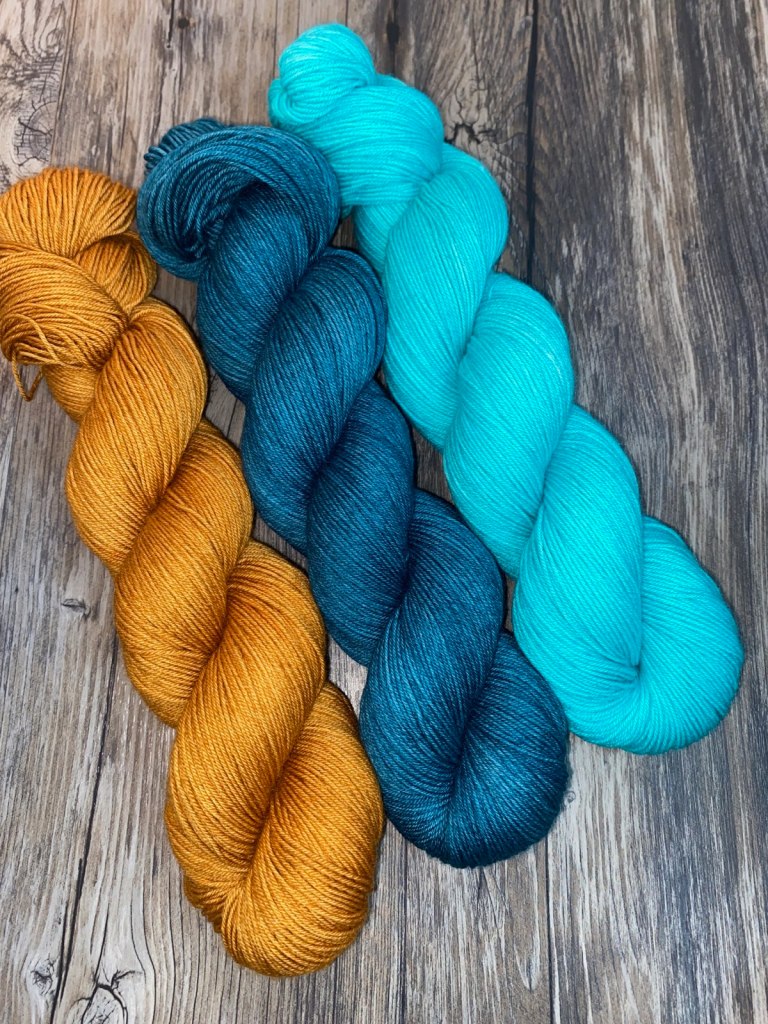
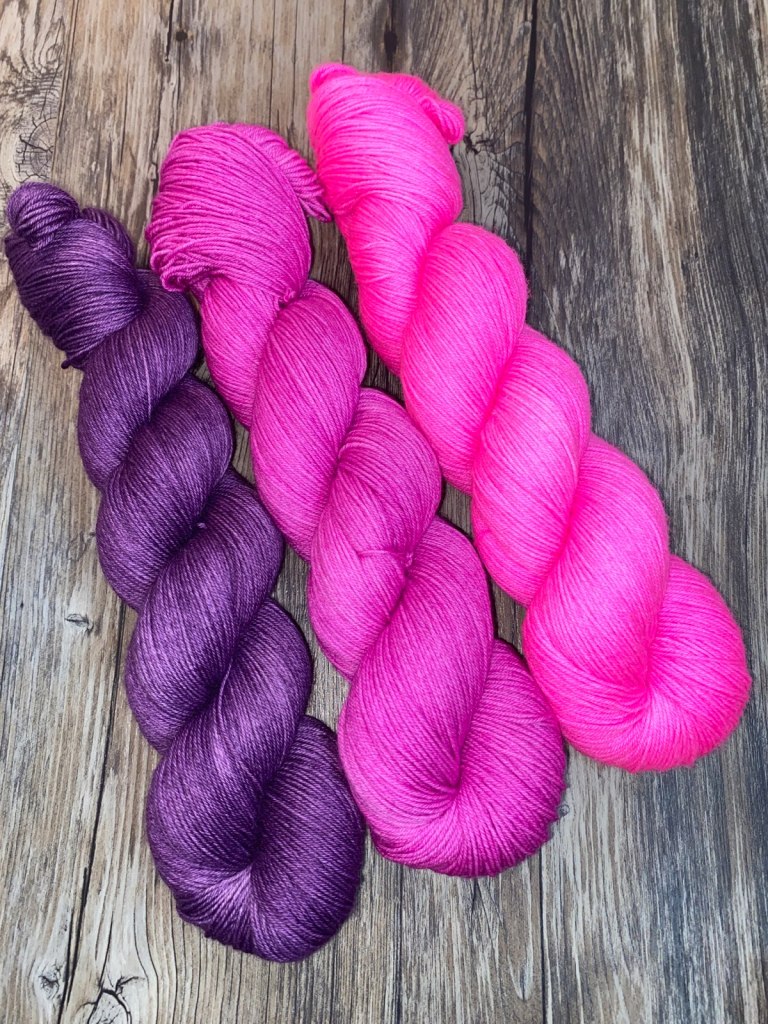
2. Post a picture of your own V-Stitch Mitts on Instagram. In your post, tag me, @katie_clark_crochet and @jemsluxefibers who dyed the fabulous mini bulkies used in this pattern.
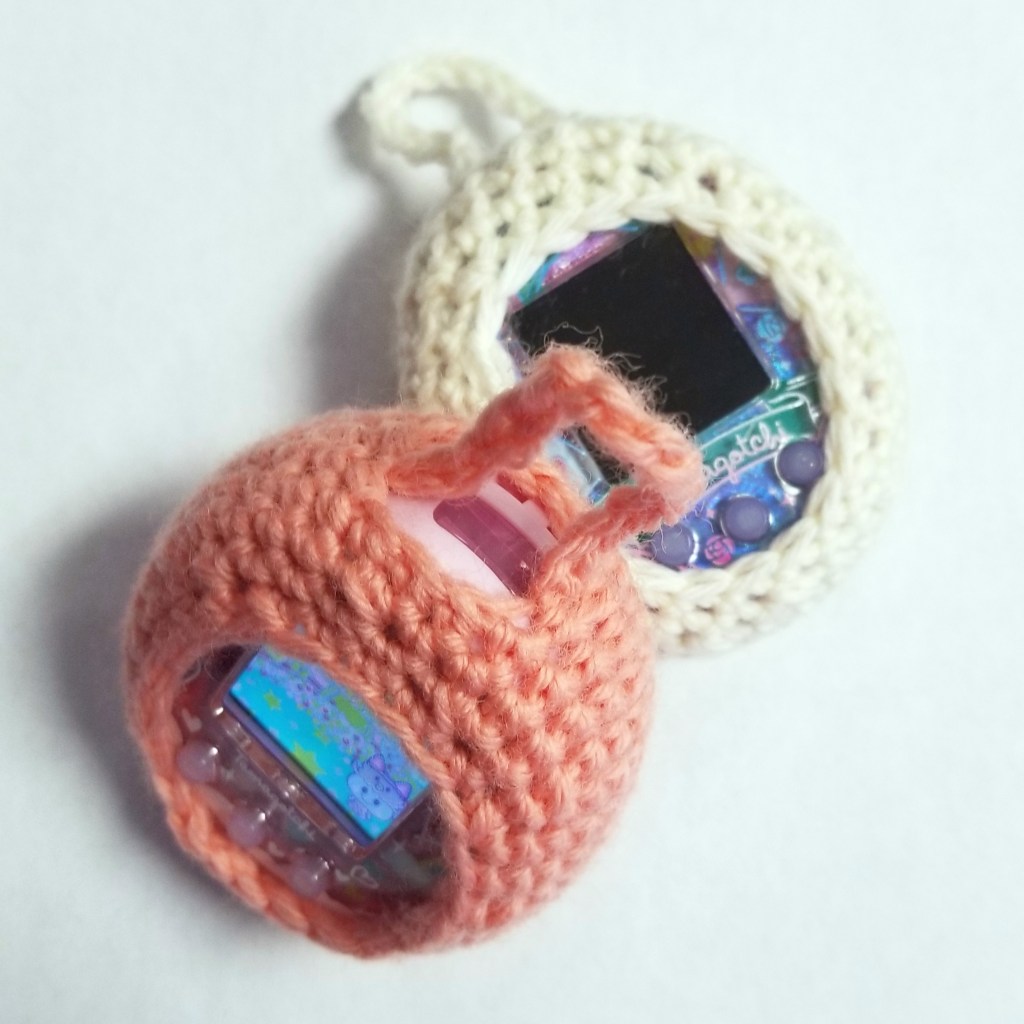
I’m working on a math heavy pattern right now, and my brain just needed a diversion. So I took a break last night a designed this Tamagotchi ON cozy. Tamagotchis are a cool little diversion themselves. It’s a revival of the 90’s electronic pet. You start with a digital egg and it hatches and grows through different stages of life. But only if you feed it, clean it, and play with it…Every. Single. Day. Or it dies.
It’s fun to play when I’m supposed to be cleaning house or feeding my real kid. Why go through all that when you can do it digitally in a game? The device is a little egg shaped game, and the originals had a keychain attached so you could carry it with you where ever you go. The newest version lacks the keychain, so I needed a cozy that would protect it, make it a little shock resistant, and have a convenience loop to carry it. So here is a quick diversion for you to make for your or your kid’s Tamagotchi.
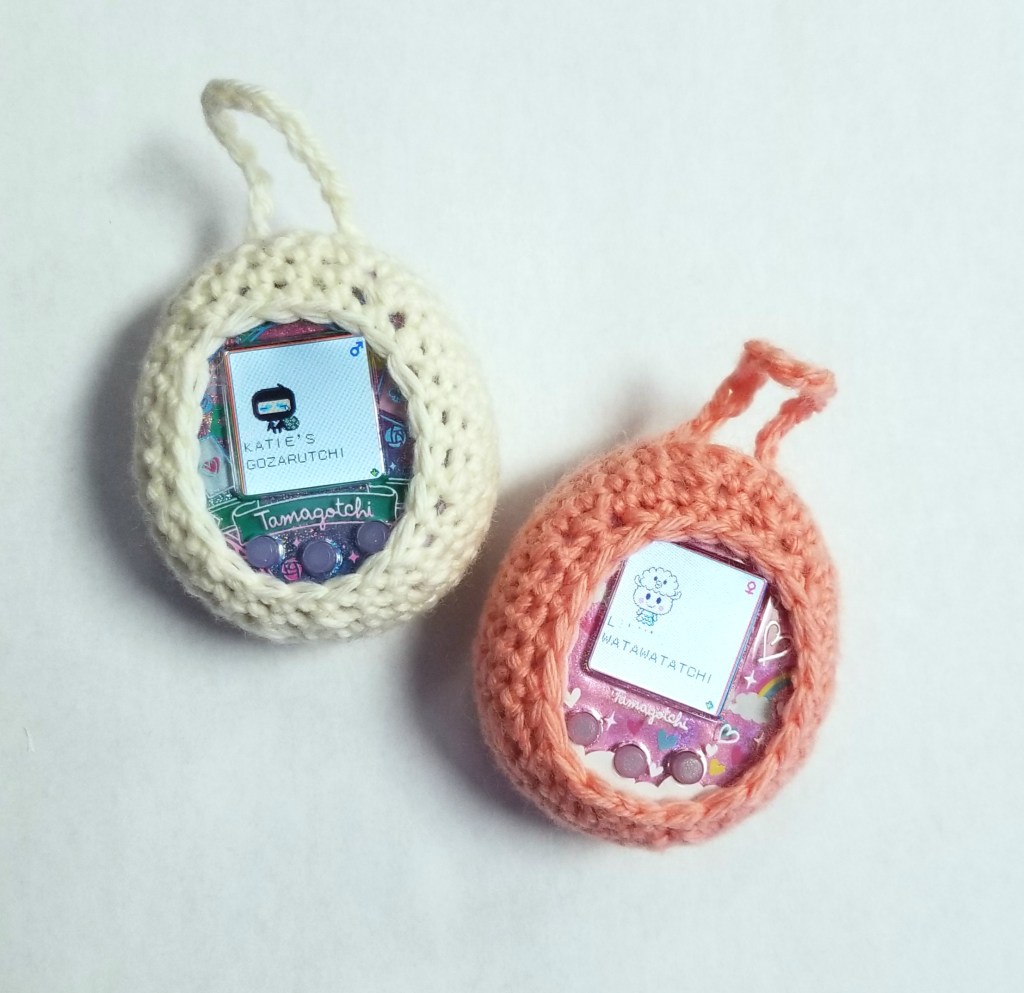
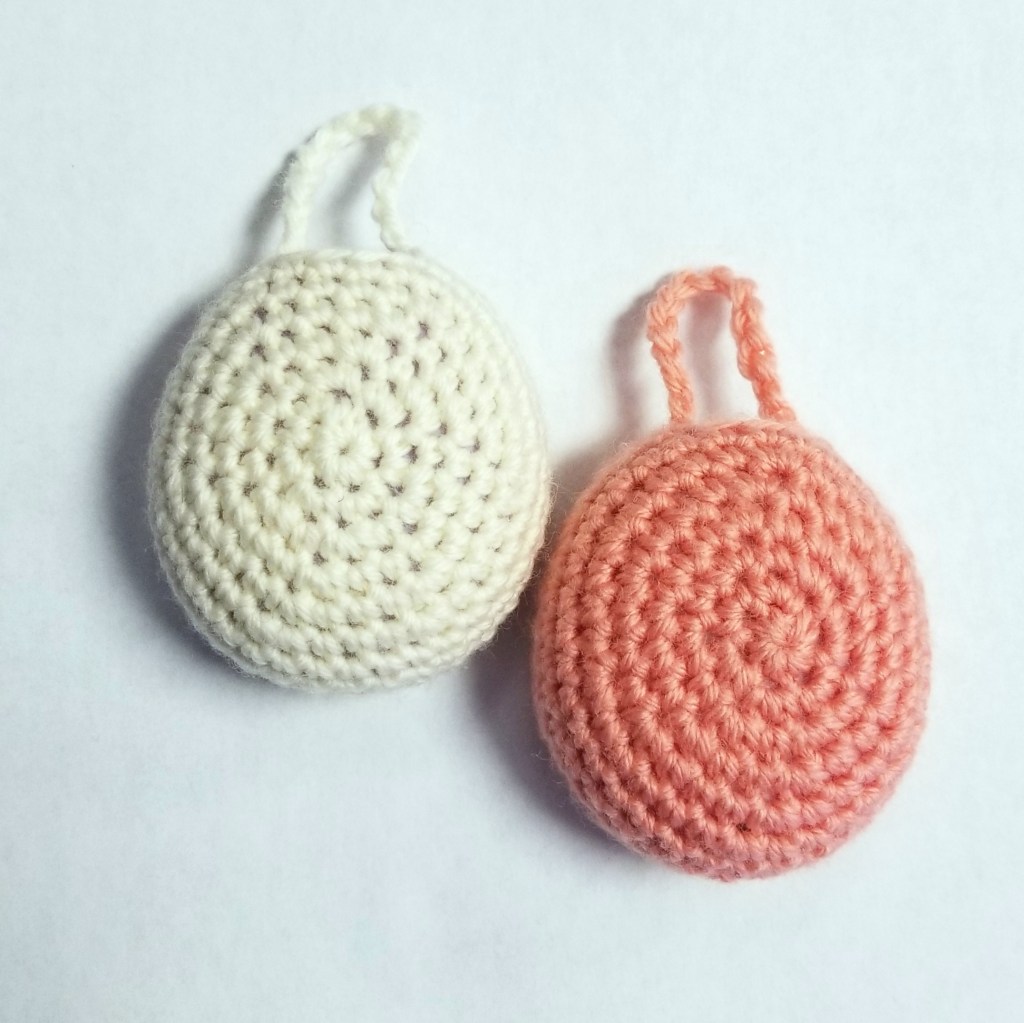
Tamagotchi ON Cozy
Materials
G hook
Worsted yarn
Rnd 1: In magic loop, ch 6. Do not join; work in spiral.
Rnd 2: 2 sc in each st. 12 sc
Rnd 3: [2 sc in next st, sc in next st] around. 18 sc
Rnd 4: [2 sc in next st, sc in next 2 sts] around. 24 sc
Rnd 5: [2 sc in next st, sc in next 3 sts] around. 30 sc
Rnd 6: [2 sc in next st, sc in next 4 sts] around. 36 sc
Rnd 7: Sc in each st around.
Rnd 8: Sc in next 3 sts, ch 15, sk 3 sts, sc in next 30 sts.
Rnd 9: Sc in next 3 sts, ch 3, sk ch-15 lp, sc in next 30 sts.
The Kirithra Shawlette is available now! Choose a kit curated by Jems Luxe Fibers to crochet a stunning version of your own. The pattern is included free with the purchase of a kit. Or you can purchase the pattern here.
Once you have your kit or pattern, you can join the Kirithra Shawlette Crochet Along! Starting November 9th, gather with other crocheters in a private Facebook group to share progress, hints and tips, and some much needed community. Look for your invitation to join after you complete your purchase!
Have you been productive during the Shelter-In-Place? Did you start to tackle projects or to-do lists you’ve been putting off? Or have you perfected your procrastination skills by avoiding chores when you can’t even leave your home?
I’m the eternal procrastinator! I have projects and tasks that “I’ll get to one of these days.” Some are fun, like getting around to that design that’s been floating around in my head. (Hopefully, you’ll see the product of some of those soon!) Some are working through yarn in my stash. Some are just chores I don’t want to do so I avoid them like the Coronavirus! Ha!
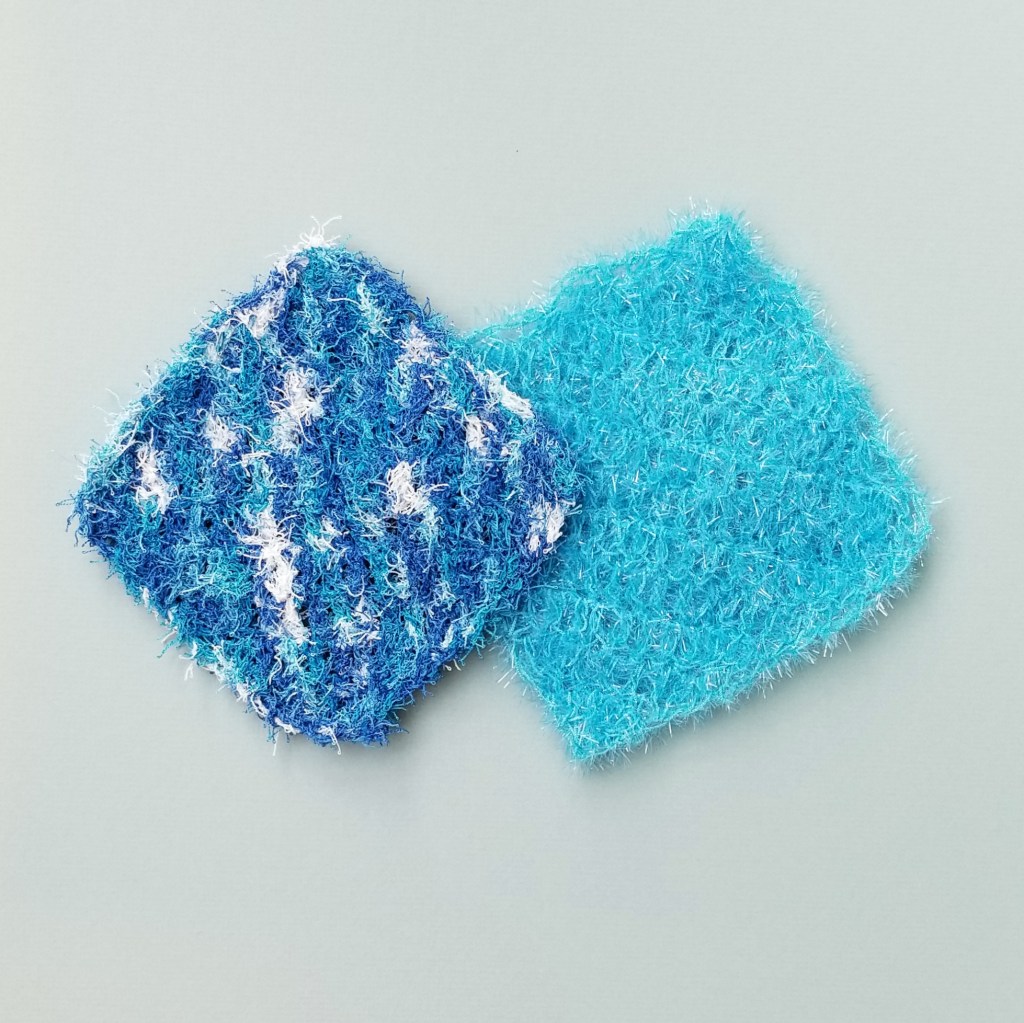
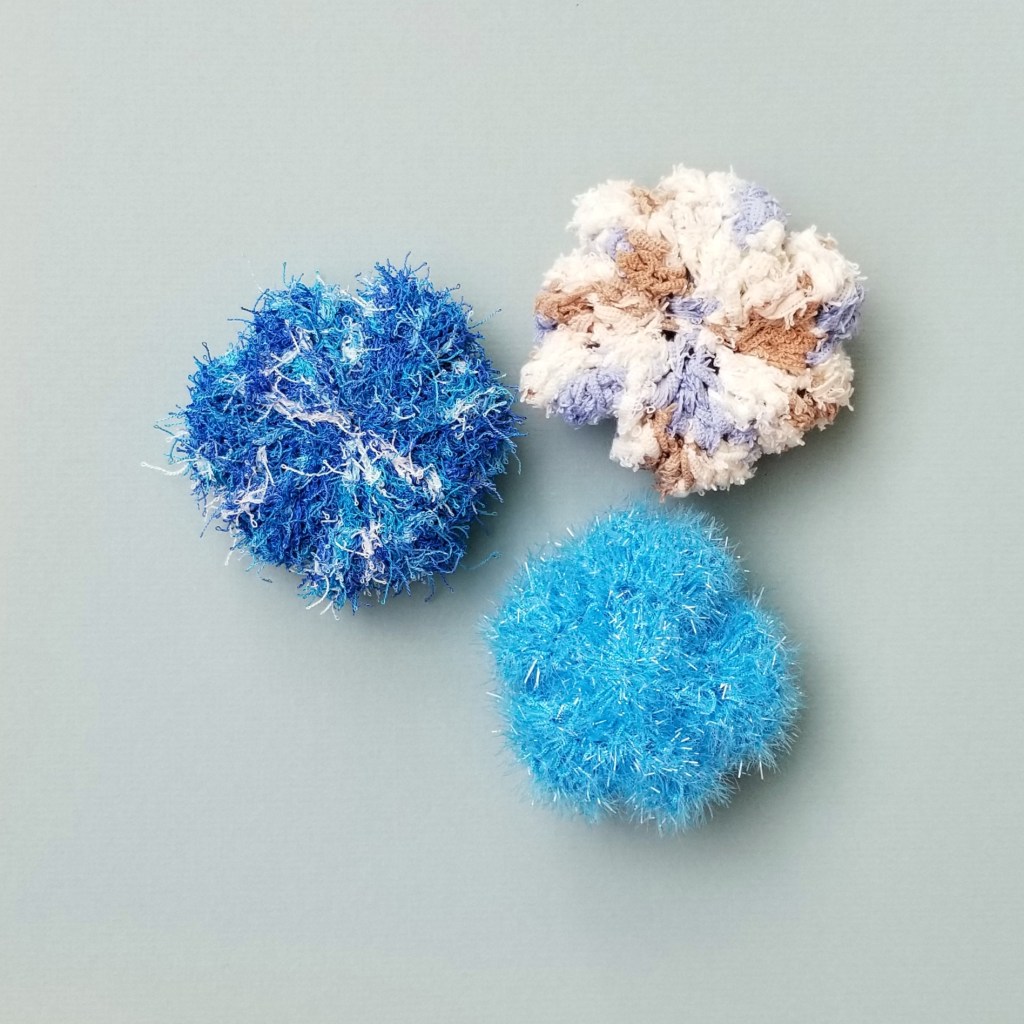
Well, the last two things just came together! I had a bag of various scrubby yarns I’d been waiting to work up and try out. I finally found some time to make kitchen scrubbies. Now, I hate housework, but it’s a little bit better when you have good tools that do the job. I love my handmade dish cloths, and I expect I’ll love these scrubbies as well.
So, here are a few patterns for your scrubby yarns that are good for your kitchen or your bath. Plus, I’ve added a few options you may want to try out for yourself!
Scrubby Square
Scrubby Square with Eyelet Edging
Scrubby Pouf
Materials
Scrubby yarn (one ball will make 2-3 scrubbies) or cotton dish yarn US I Hook or hook for Basic Crochet Supplies Tapestry Needle
Scrubby Square
Ch 4, 4 dc in 4th ch from hook. Turn. -4 dc
Ch 3 (does not count as dc), 3 dc in 1st st, dc to last st, 3 dc in last st. Turn. -8 dc
Rpt last row until you have 24 sts. Begin decrease rows as follows.
Ch 3, dc3tog, dc to last 3 sts, dc3tog. Turn. -20 dc
Rpt last row until you have 4 sts left.
Last row: Ch 2, dc3tog. Finish off. Weave in ends.
Option: Replace the double crochets with front and back post double crochets for more scrubby ridges. Work bpdc on the right side and fpdc on the back side.
Scrubby Square with Eyelet Edging
Ch 5 (counts as dc & ch-1 sp), dc in 5th ch from hook. Turn. -2 dc, 1 ch-1 sp
Ch 4 (counts as dc & ch-1 sp throughout), dc in first st, dc in ch-1 sp, [dc, ch 1, dc] in top of turning ch. Turn. -5 dc, 2 ch-1 sp
Ch 4, dc in first st, dc in ch-1 sp, dc in each st across to ch-1 sp, dc in ch-1 sp, [dc, ch 1, dc] in top of turning ch. Turn. -9 dc, 2 ch-1 sp
Rpt last row until you have 25 dc. Begin decrease rows as follows.
Ch 2, sk ch-1 sp, dc in each dc across to 1 st before ch-1 sp, dc2tog the next st and the last st skipping ch-1 sp. Turn. -23 dc
Ch 2, sk first 2 dc, dc across to last 3 sts, dc2tog the next st and the last st skipping 1 dc. Turn. -19 dc
Rpt last row until you have 3 sts left.
Last row: Ch 2, sk next st, dc in last st. Finish off. Weave in ends.
Option: Red Heart’s Sparkly Scrubby yarn isn’t very absorbent. To make a more cloth-like scrubby, hold it together with an all cotton yarn. Be sure to go up at least 2 hook sizes.
Scrubby Pouf
Work in rounds.
Ch 4, 24 dc in 4th ch from hook. Join w sl st to first dc.
Ch 3 (does not count as dc), 3 dc in each st around. Join w sl st to first dc. -72 dc
Ch 3, dc3tog around. Join w sl st to first dc. -24 dc
Rpt last rnd once. -8 dc
Finish off. Use a tapestry needle to stitch last 8 sts closed. Tie firmly. Thread end into center of pouf.
Option: For a soap saver, work the first round of double crochets around a small elastic hairband. When you are done, insert a sample size soap into the center through the elastic.
I know these times are stressful. We are dealing with work and kids and dishes…the DISHES! (Does your family want to eat every day like mine?)
And everybody deals with stress differently. Some bake bread, filling the house with that delicious aroma. You might escape the circumstances by binge watching a show or getting lost in a book.
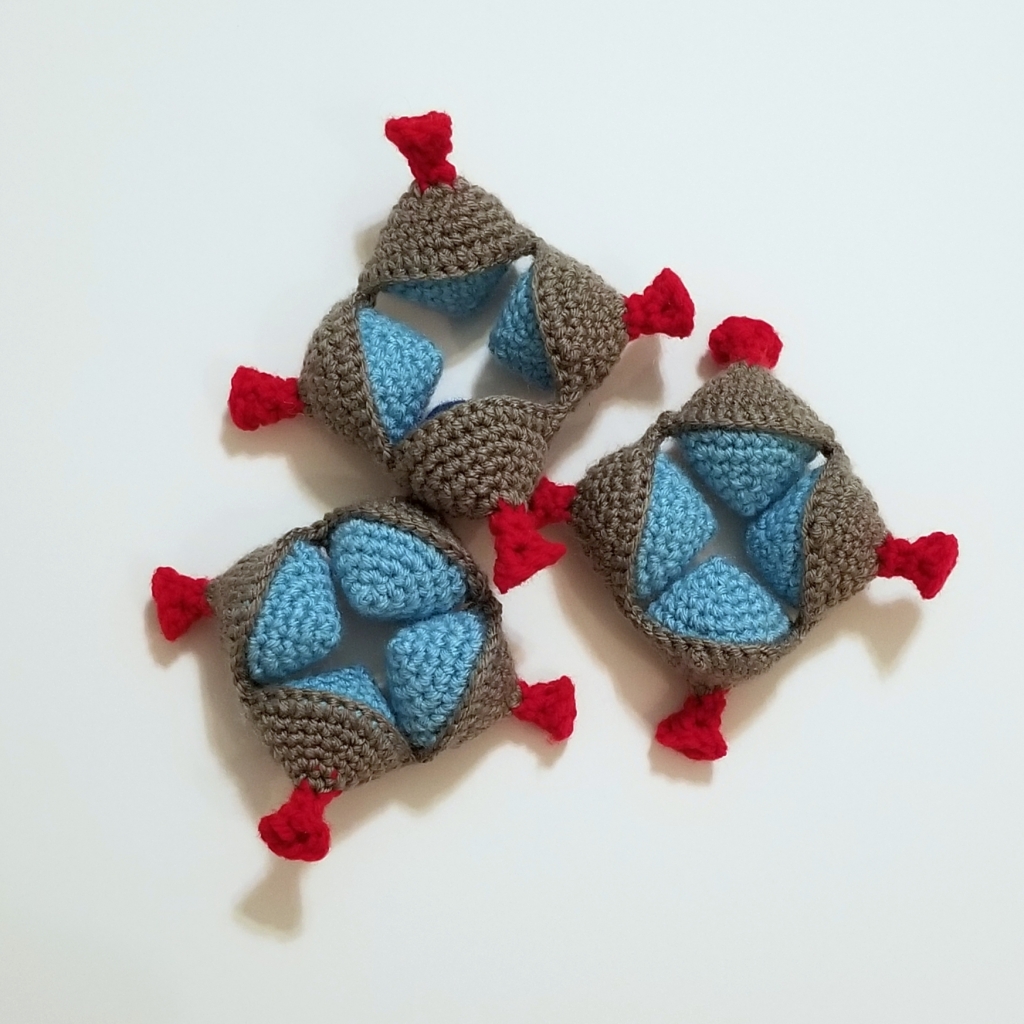
I’m the kind that deals with stress by making irreverent fun. So here’s the result of my stress crocheting….
The Coronavirus Amish Puzzle Ball!
Start with the virus. Discover how to destroy the virus. Then discover a cure!
Fight the virus!
Wash your hands to destroy the virus!
Discover a cure!
Finished Size: Approx. 5 inches Materials: Worsted weight yarn (#4) 1 ball red, 1 ball gray, 1 ball any color for the cure side (CC) US G hook Polyester fiber fill Basic Crochet supplies (scissors, tapestry needle, etc.)
Gauge: not critical
Abbreviations:
beg – beginning ch – chain lp – loop m – marker ML – magic loop rnd – round rpt – repeat sc – single crochet sc2tog – single crochet 2 together sl st – slip stitch st – stitch
Cure Side
Using CC, beg w ML.
Rnd 1: In ML, ch 1, sc 4 in lp. Do not turn. 4 sc
Note: Do not ch 1 at the beginning of rnd here and throughout. Work in a spiral. Use an open m to mark your beg of rnd.
Rnd 2: 2 sc in each st around. 8 sc
Rnd 3: [2 sc in next st, sc in next st] 4 times. 12 sc
Rnd 4: [2 sc in next st, sc in next 2 st] 4 times. 16 sc
Rnd 5: [2 sc in next st, sc in next 3 st] 4 times. 20 sc
Rnd 6: [2 sc in next st, sc in next 4 st] 4 times. 24 sc
Stop here or continue in pattern for a larger finished project. Finish off. Hide ends.
Make 12 pieces.
Virus side
Note: The beginning of this piece is very fidgety. If it’s too frustrating, use Gray to make pieces just like the Cure Side. Then use a lark’s head or other knot to attach short pieces of red yarn to the centers of each gray piece.
Using Red, ch 8, sl st in bottom lp of beg ch to form a lp.
Rnd 1: Ch 1, sc2tog around. 4 sc
Rnds 2 & 3: Sc around. Finish off changing to gray in last st.
Continue as for Cure Side starting with rnd 2.
Make 12 pieces.
Assembly
Using gray, hold 1 virus side and 1 cure side with wrong sides together making sure the cure side is closest to you. Working through both layers, join with a sl st. Ch 1, sc in same st and next 12 sts.
*Hold another pair of virus and cure sides together with the cure side closest to you, and working through both layers and beg in any st, sc in 13 sts. Rpt from * until 4 sections are attached. Join to beg sc being careful not to twist work.
Rotate work to continue around the other half making sure the cure side is still closest to you. * Sl st in top of first sc of next section. Working through both layers, sc in same st as last sc, sc in next 11 sts stopping halfway to stuff section, sc in same st as next sc. Rpt from * around. Join sl st to beg st. Finish off weave in ends.
Rpt 2 more times to make 3 rings with 4 sections in each ring.
Need a hint to put it together? Coming soon! Try it yourself first!
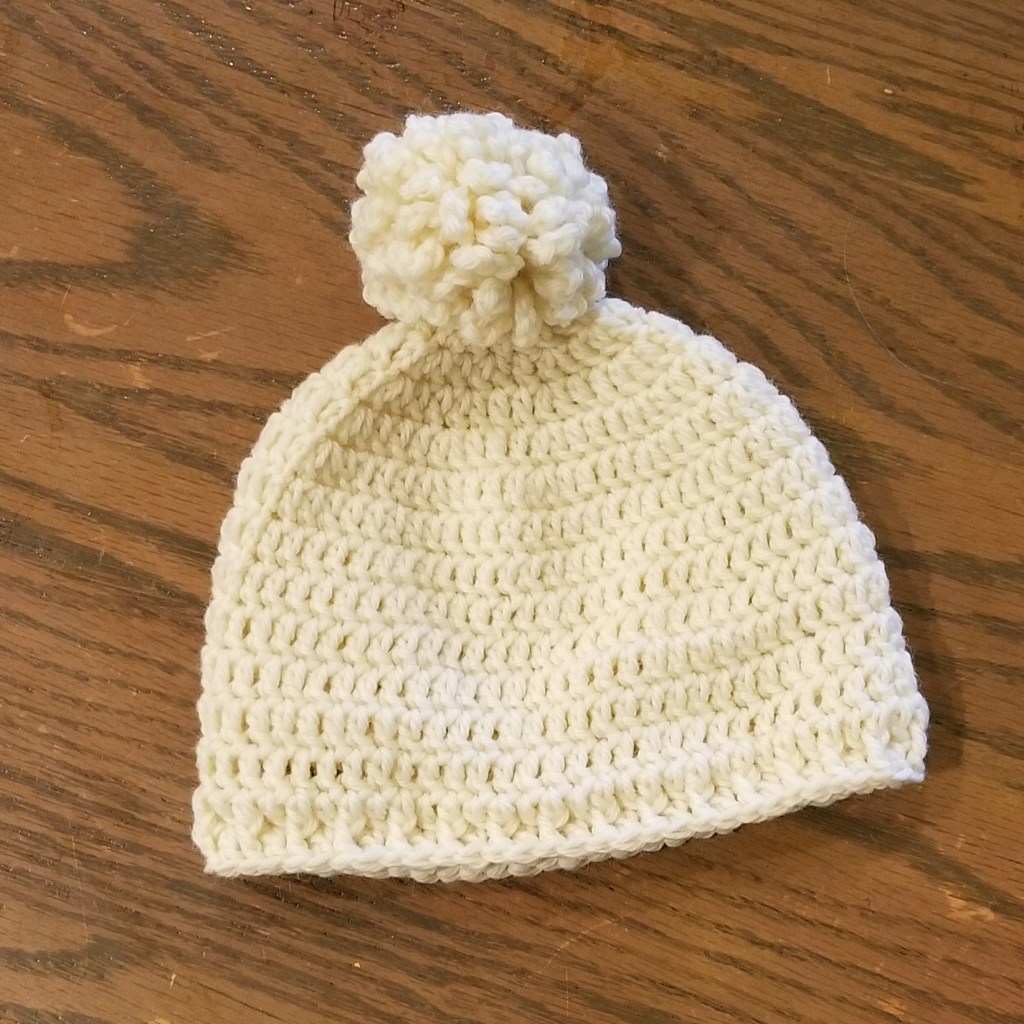
Pom poms are adorable on a hat or ends of a scarf, so here’s an improvement on a classic. The Game Changer Crocheted Pom Pom!
Why is this pom better?
• It is washable and dryable Because it has no loose ends, as long as your yarn can be laundered, so can this pom pom be laundered.
• It can be made with any yarn Most pom poms are made with wool yarn because the wool fibers cling to each other and keep it from falling apart. This one is made with a crochet chain, so it’s structurally sound. That means you can use any yarn, even a novelty yarn, and it won’t fall apart.
• It’s child proof Do you have a kid that picks at everything? Then you know, if you pick at a pom pom, the pieces fall out! This pom pom cannot be pulled apart.
Now you know you need one! How do you make it? Look no further.
Game Changer Crochet Pom Pom
This pattern makes an approximately 3 inch pom pom. To make a larger pom pom, use longer chain loops in round 2. To make it smaller, use shorter loops.
To make a full pom pom, the sts have to be squeezed in. It can be difficult at the end, but the more chain loops you squeeze in, the fuller the pom pom will be.
Rnd 1: In a magic ring and leaving a long tail, ch 1, 20 sc, join with a sl st to first sc. Pull your magic ring closed very firmly.
Rnd 2: (Ch 10, sl in same st) 4 times. 5 ch lps made. Rpt for each st around. 80 ch lps
Finish off leaving a long tail. Being careful not to tie over any chain loops, tie the tails together very firmly. Use these tails to sew pom pom in place.
Bonus
Here’s a hint for attaching your pom pom to a hat. This is a very firm attachment and there is no knot on the inside to rub against a sensitive head!
Draw both tails through the top of the hat a couple of time. Then draw them back to the outside. Wind the tails in opposite directions a couple of times around the base of the pom pom and tie very firmly. Trim ends to just a little shorter than the the loops of the pom pom.
Need a pattern to attach your pom pom to? Here is my Basic Crochet Beanie Pattern for free!
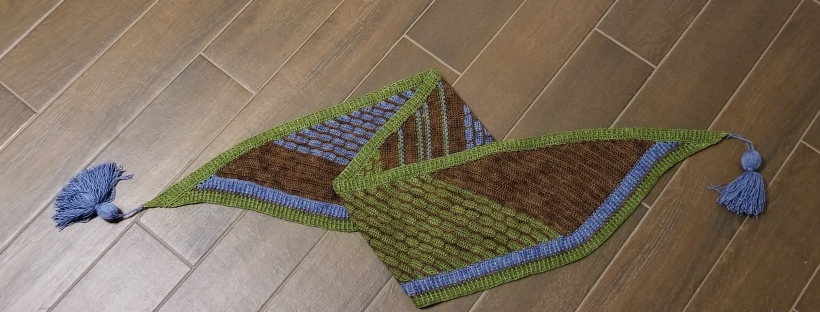
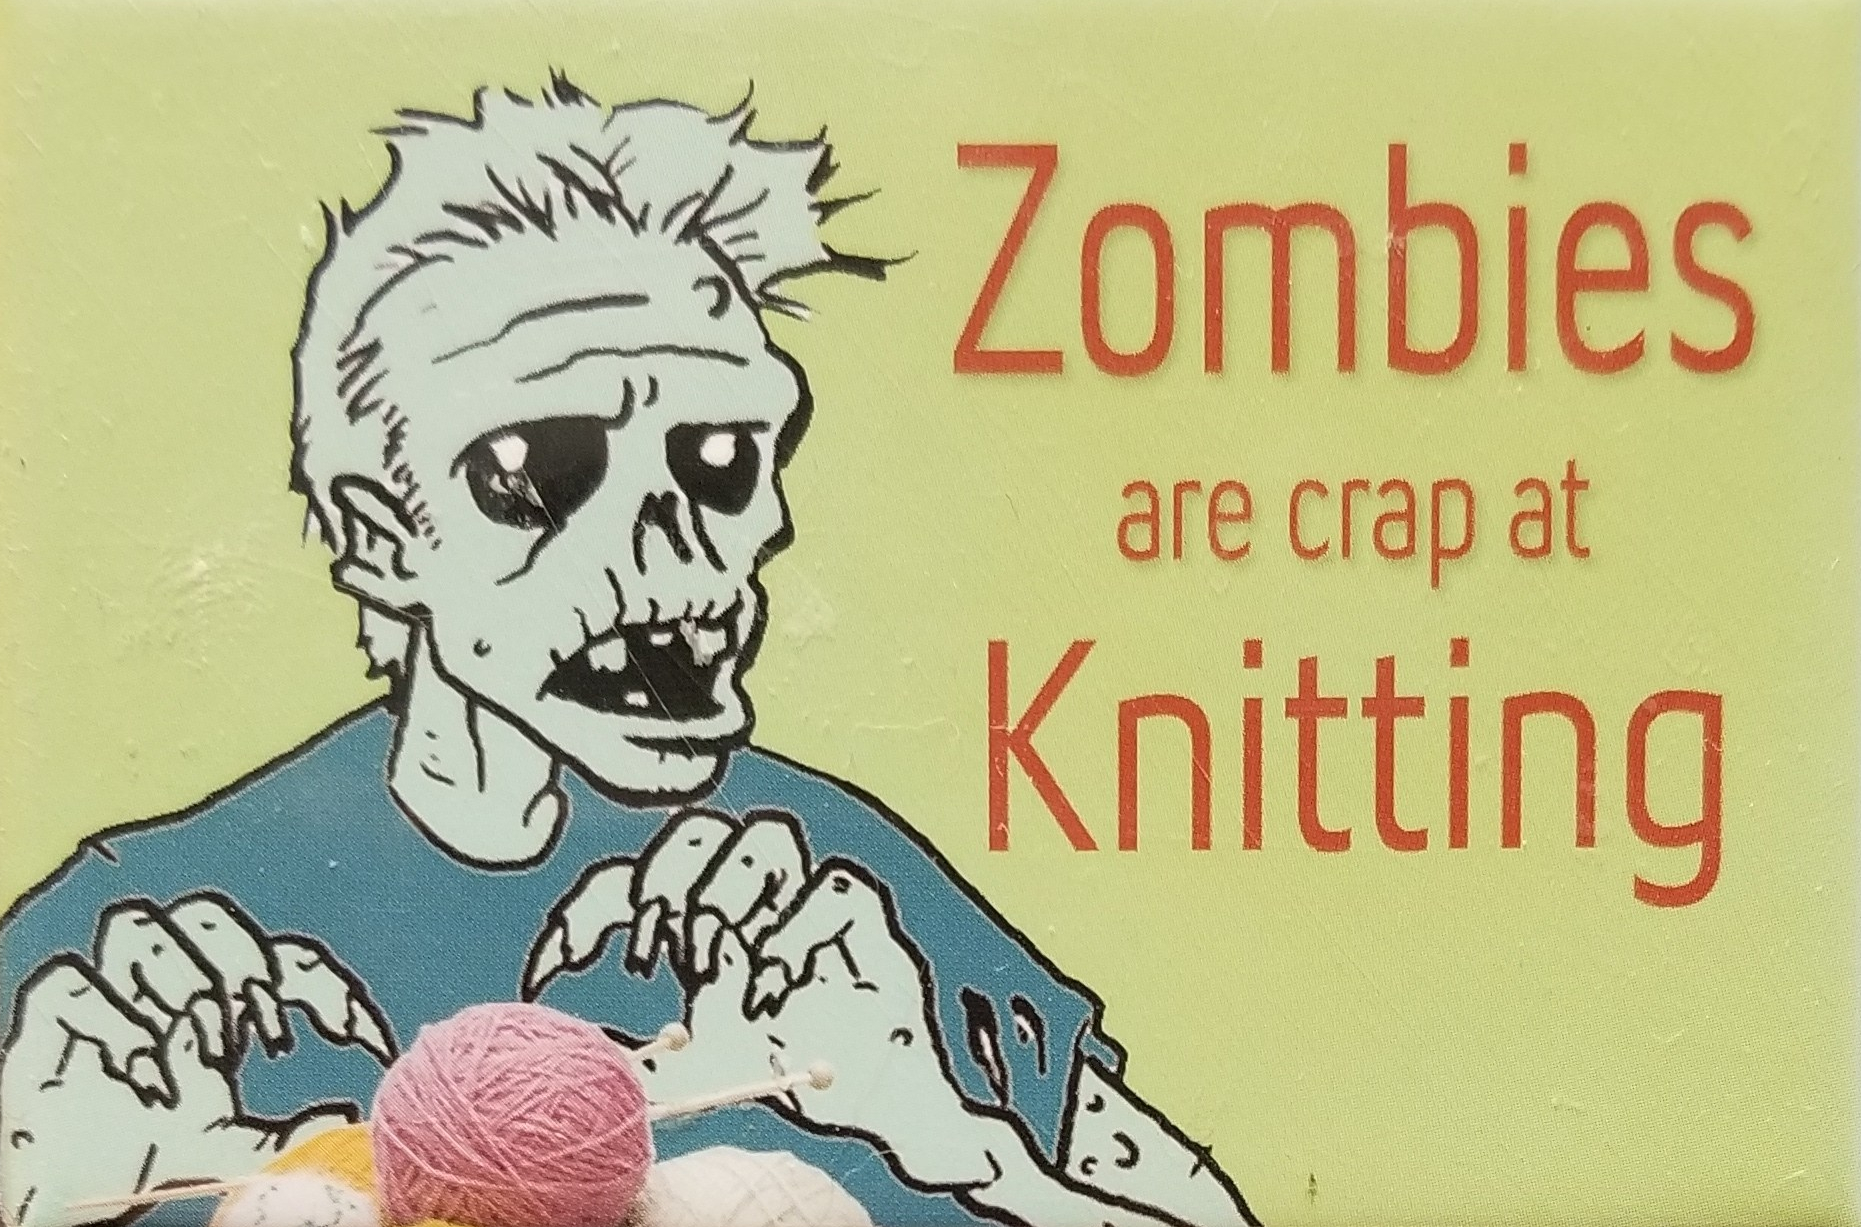
I’ve just added a friendly ghost to my cast of characters on my Zombie Scarf! Here’s an update of knit charts for my zombie, biohazard, and new ghost! Enjoy!
But I love stitching them! I made a double knit Zombie Scarf that is sure to keep my brother-in-law warm in the zombie apocolypse!
And, so everyone will be prepared for the impending doom, here are charts you can use for knitting, cross stitching, needlepoint, or any reason you might have for needing to stitch zombies. Included are a zombie head, Crossed Winchester rifles, and a biohazard. If you would like to duplicate my scarf above download the full pattern here. If you have never tried double knitting, you will want to start with a simpler pattern like my Double Knit Scarf pattern. Enjoy!